MENU
Skip menuInstallment 13 - Interior Paint and Roll-cage.
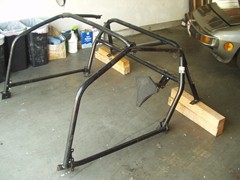
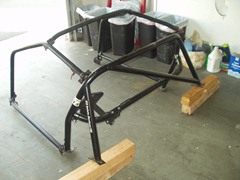
I found a smoking deal on a bolt-in cage made by Safety Devices. This particular brand mounts to the structural frame rails in the car, and not the thin sheet metal. Unfortunately, after getting clarification on the rules regarding roll-cages, I learned that this cage could not be used without extensive modification because the diagonal bar in the main hoop does not intersect with the horizontal harness bar.
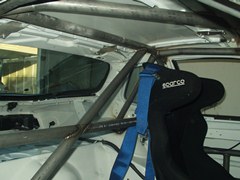
I ended up trading the bolt-in for credit towards a full custom cage...and boy am I glad I did. Keep reading...or looking, I should say. Before getting the cage put in, I thought it best to paint the interior. Nothing like banging your head on a cage 234,523,523,462,345 times while trying to make some modification.
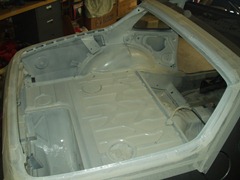
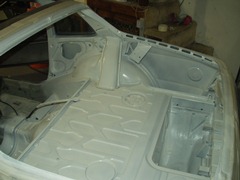
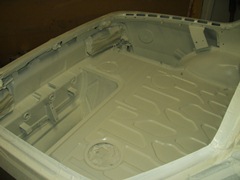
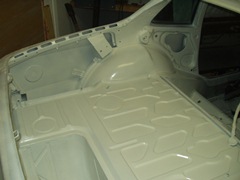
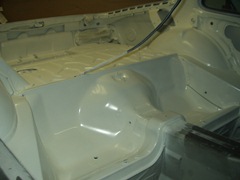
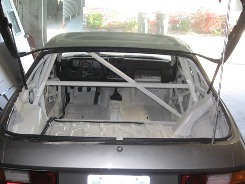
I started by removing the rear hatch and masking off the bits I didn't want to make white hot. A quick hit with 220 grit sand paper and some Acetone was really the only prep I did. The local hardware store had spray cans in white for $1 each. Score. I know the paint is crap and takes more to complete a coat, but who needs fully functioning lungs anyway!
The first coat:
The second coat:
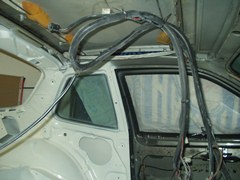
Moving up to the front of the car, I had to do something with the wiring loom that feeds the fuel pump and rear lights. Hanging them out of the way worked pretty well, masking the entire loom was a pain in the ass.
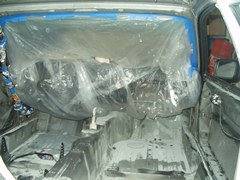
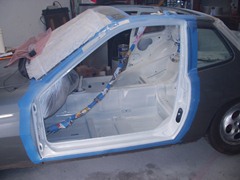
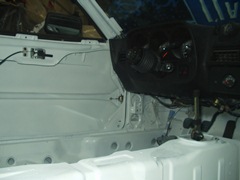
Masking the front was much trickier. Getting into the foot wells with the plastic in your face is less than ideal, but it beat removing the dash. In hindsight, I should have just removed the dash because I had to do that soon after for the cage builder...D'oh!
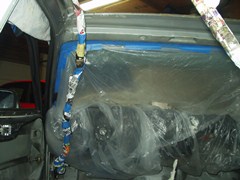
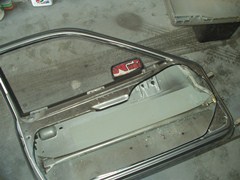
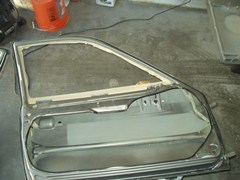
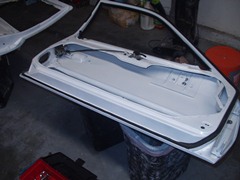
Removing the doors was not fun with just one person. I ended up damaging the paint a bit near the hinges, but thankfully I was just about to repaint the entire car :) Speaking of, I masked the exterior of the car because I was having trouble locating the proper paint for the exterior. I did not want massive overspray, just in case the exterior did not get painted soon after.
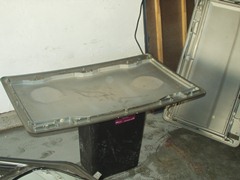
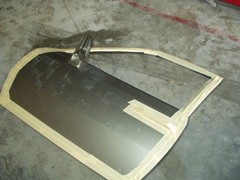
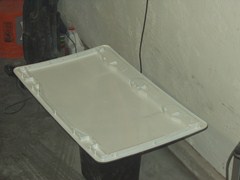
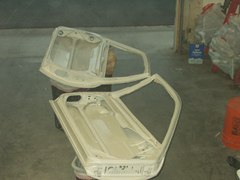
Sunroof and door prep is done. All pieces removed or masked off.
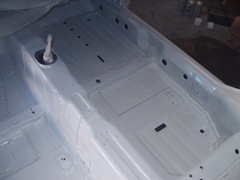
White hot!
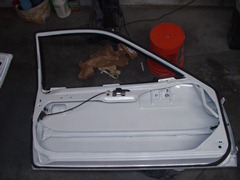
Door reassembly, and finally back in the car.
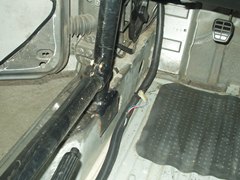
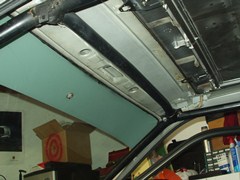
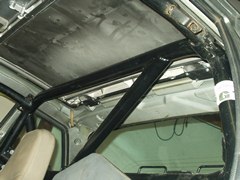
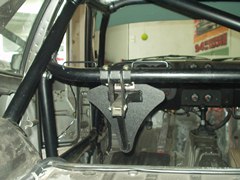
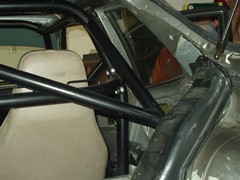
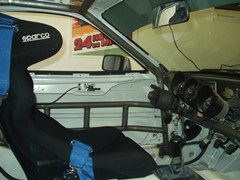
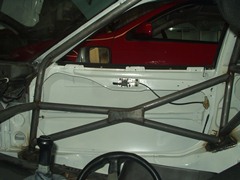
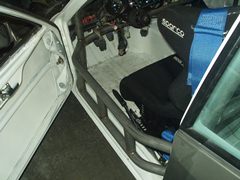
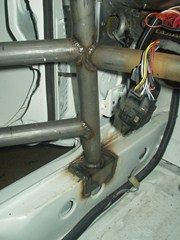
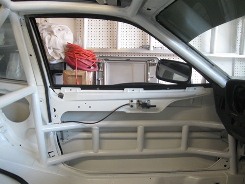
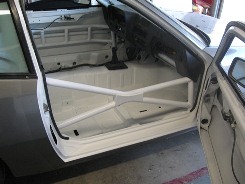
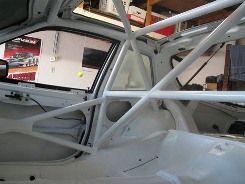
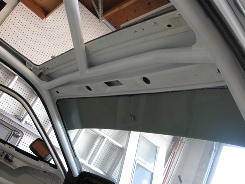
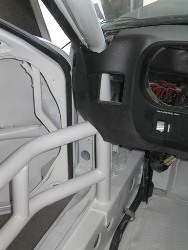
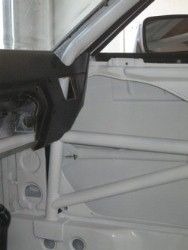
With the interior all painted and ready to go, I dropped the car off in the capable hands of Jim Pierce at Pierce Motorsports. Jim has a ton of experience, including many cages in local 944s, so believe me when I say the cage was worth every penny. While sitting in the car, I really don't even notice it's there.
12 more cans of spray paint later and booyah!
Getting the dash back on was much more work than I anticipated. While I had it off, I re-enforced my cooling fan switches with some hot glue to help hold them in. The notches in the dash for the cage are far from perfect, but I hardly notice the sloppiness of it now.
Next installment is exterior paint, rolled on using Brightside, in my garage (don't knock it until you've seen it)! I ordered an in-car HD camera as well, so videos to follow (see YouTube link above)
All photos:
