MENU
Skip menuInstallment 11 - Finally looking like a racecar.
For anybody who just came to this installment after reading the last one, you may recall that I had hoped to have a cage installed at this point. Well, as life tends to do, it got in the way of my racing again. As a compromise however, I did make some decent progress this round.
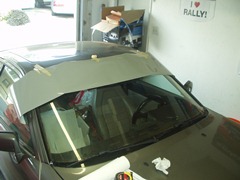
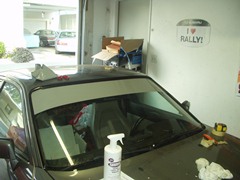
The cage is coming this year and it will be worth the wait. One thing I failed to see, no pun intended, is the fact that when you delete the visors the sun has a tendency to pierce your retinas with blinding force. Thankfully this can be rectified with stickers.
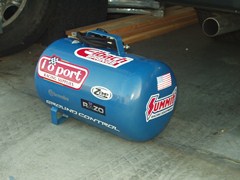
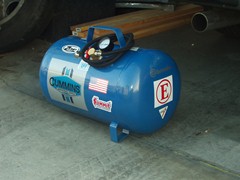
Who doesn't like stickers? Wait...I don't. Shit. Okay, so I lied about hating stickers. I do like them, just not on cars necessarily. This little air tank was only $30, so I couldn't pass it up. I just so happened to have a ton of stickers lying around from various purchases. At least I know which tank is mine!
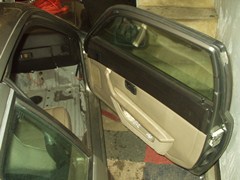
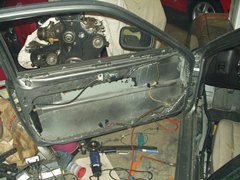
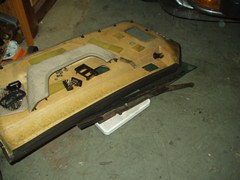
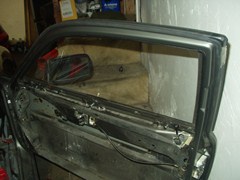
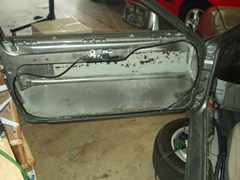
Okay, back to business. Just about the only 'street' items left in the car during the interior gutting were the door panels, windows, regulators and motors. Basically wasted weight.
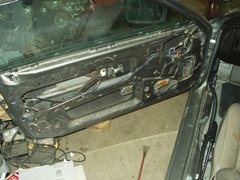
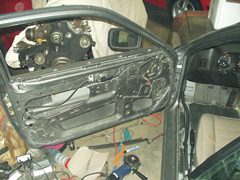
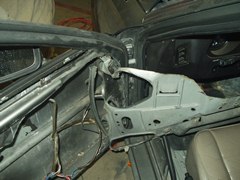
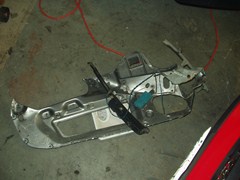
With the door panels off, windows and related BS removed, I began feverishly cutting. Then bending. Then cutting some more. Then bending. Then drinking a beer and inspecting the burn marks from flying molten metal. Then finally muscling the damn section out.
With all that crap out, I weighed it. About 17 lbs per side were removed. Passenger side pictures.
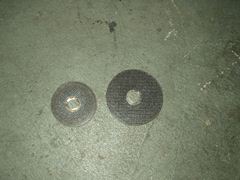
The cutting wheel on the left is not only worn down to half it's size when new, it's also oblong!
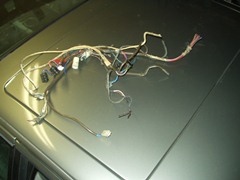
Window motor and electric mirror wiring removed.
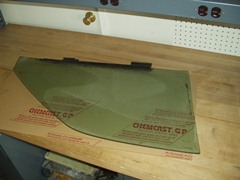
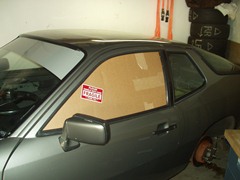
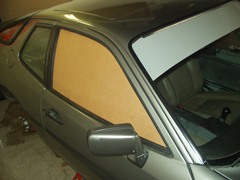
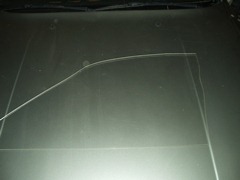
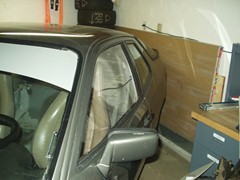
I rather liked having windows, due to the fact that I drive the car to and from events (for the time being anyway). The solution came in the form of 1/4" thick plexiglass sourced online for $30 shipped for enough to do both sides. I traced the stock glass onto the paper backer of the plexi and my brother so kindly cut them out for me. With the rough edges filed down, it fit pretty damn well. I did have to use an air sander to trim a few high bits, but that was my fault by drawing the lines like a drunk.
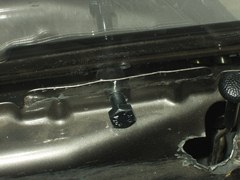
To hold the plexiglass windows in place, I drilled holes in the three tabs in the doors that normally hold the door panel in place. I drilled corresponding holes in the plexi and using bolts lined with rubber fuel line, I bolted them in place.
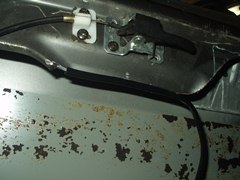
Jagged metal begins to get annoying while working around it. I found this universal molding at Pepboys for roughly $25. It has a bead of adhesive already in it so it worked perfectly.
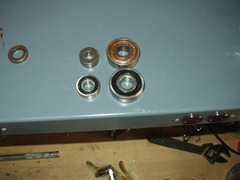
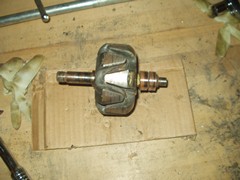
With the car in the air for a few weeks while I was working on all this, I thought it best to fire it and let it get to temp. As sitting will usually do to an engine, it sounded like hell. I traced the whine to the alternator and decided to tackle rebuilding it myself. Why you ask? Because I'm an idiot, that's why. Don't try this at home. Just buy a rebuilt unit and be done with it.
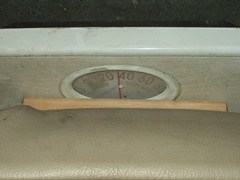
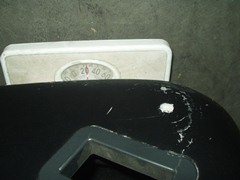
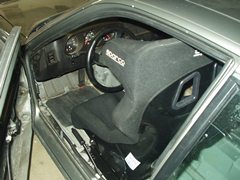
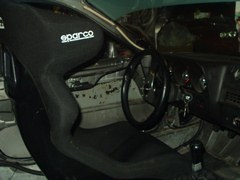
Back to fun stuff! I picked up a nice, used Sparco Circuit seat for $250 locally and Michael (Ninefofo) J. hooked me up with the side mounts for it. I weighed the stock seat when I removed it, then weighed the Sparco on the same scale.
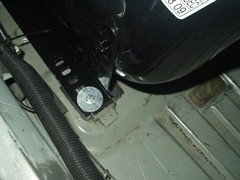
The Sparco side mounts lined up pretty well with the factory mounting pads, but new holes had to be drilled. No biggie, since I wanted to mount them thru the floor pan with large bolts and fender washers. All in all, it makes the cool look very much improved.
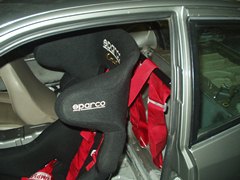
I picked up a harness guide bar from I/O Port Racing and a set of Simpson 6 point harnesses. Mounting of the lap and shoulder belts uses the factory seat belt mounting holes and grade 8 bolts. The anti-submarine straps are mounted to the floor pan using stainless steel eye bolts mounted with large fender washers. This is one tight fit, but that's the point, isn't it?
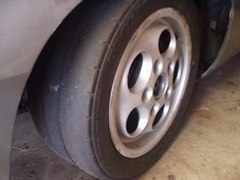
Craigslist comes through again with a set of used RA1's for $100. I know these will be off the pace, but compared to the street tires I was using, this will be a night and day difference.
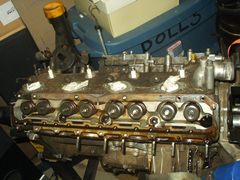
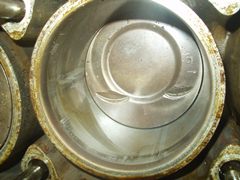
I'd like to end with the latest project. I picked up a spare engine for $250 and thought that was a pretty good deal. Who couldn't use a spare motor? Well, I ended up with a very large paper weight. Take a look at the number 3 cylinder bore. But at least the pistons, crank, head and cam tower are good. They'll be going into a newly sourced block in the not so distant future!
All photos:
